Introduction:
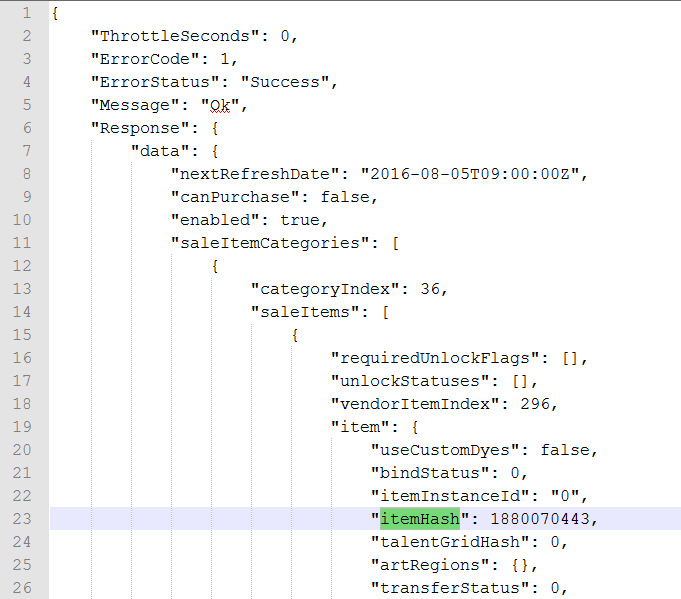
In the previous tutorial, I showed how you could use Python to send a request using the Destiny API, to the Bungie servers and how to decrypt the JSON reply. If you haven’t read the previous tutorial, it’s right here. I’m going to gloss over how to write the HTML, as there are plenty of really good online resources for creating and styling websites, checkout codecademy if you’re interested in a free guide.
In this tutorial I will continue on with the program we have created, to:
- Change our Get_Xur_inventory.py program so it writes the output as a HTML file.
- Have the program send this HTML, via Gmail, directly to our email.
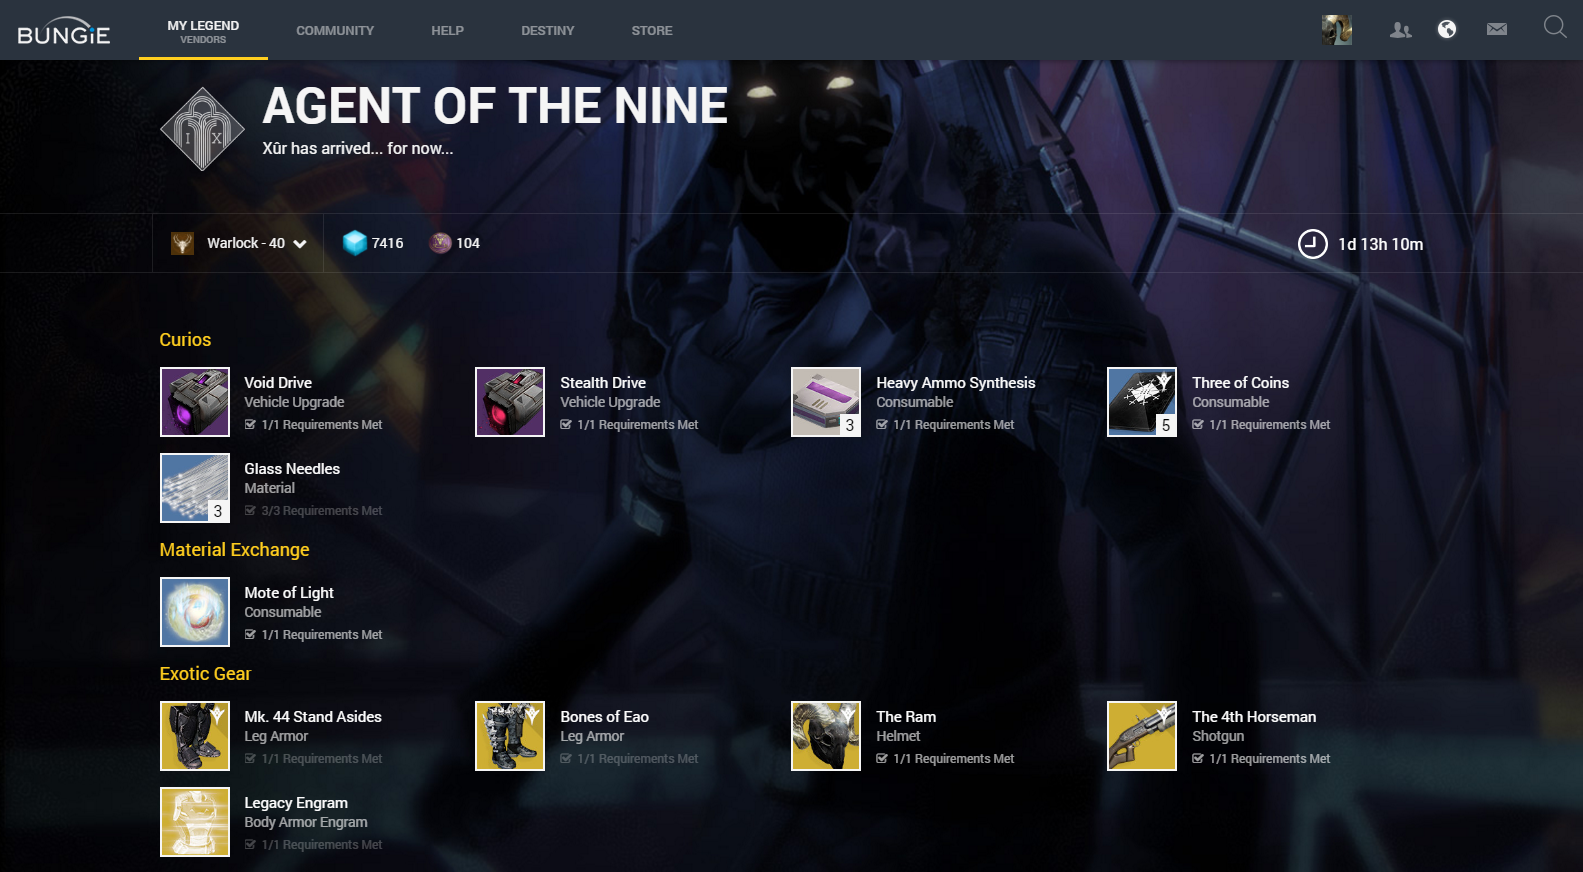
By writing our output as HTML we have a lot more control over the design and formatting of the email. Using HTML will also allow us to directly embed the item pictures into out email, from the URL links provided in the JSON response from Xur.
The hard part of the code is already done, with a few minor tweaks, we can have our program output Xurs inventory into a HTML formatted email.
Outputting Xurs inventory as HTML:
In order to create our output HTML, we are going to use a template HTML file to store as much of the generic HTML as possible, and change all of the print statements in our code to output HTML formatted data.
HTML file structure is split into 3 main parts, such as HTML version information, <head>, and <body> tags. We are going to take advantage of that and save the HTML version information and <head> section in a template HTML file, which we can reuse every time we run the script. This would allow us to update any of the generic HTML code separately – for example if you wanted to change some styling or CSS information, without messing with your Python code
We can then use our script to generate only the HTML needed to display the items from Xurs inventory, this will change every week so needs to be generated every time we run our script.
Opening our template HTML file:
The following code will open a file called “template.html” for reading, and save all of the contents into a string object called “my_html”, then close the file.
template_file = open('template.html', "r")
my_html = template_file.read() template_file.close()
Outputting HTML from our Python code:
Below is an example of how we’d like to format the HTML code, essentially we wrap it in a couple of <div>’s and display the image and text.
<div class="col-md-4">
 <div class="thumbnail">
 <a href="item_url">
 <img src="item_url">
 </a>
 <h3>Item name: item_name</h3>
 <p>Item type is: item_type<p>
 <p>Description: item_description<p>
 </div>
</div>
Here’s what the corresponding Python code looks like:
my_html = my_html + "<div class=\"col-md-4\">\n"
my_html = my_html + "\t<div class=\"thumbnail\">\n"
my_html = my_html + "\t\t<a href=\"" + item_url + "\">\n"
my_html = my_html + "\t\t<img src=\"" + item_url + "\">\n"
my_html = my_html + "\t\t</a>\n"
my_html = my_html + "\t\t<h3>" + item_name + "</h3>\n"
my_html = my_html + "\t\t<p>" + item_type + "<p>\n"
my_html = my_html + "\t\t<p>" + item_description + "<p>\n"
my_html = my_html + "\t</div>\n"
my_html = my_html + "</div>\n"
We’ve wrapped each of the lines of HTML code in a write statement. We’ve already populated all of the item_url, item_name, item_type and item_description variables with our code.
So here’s what each line is doing. In this example we are creating a <h3> heading, with the text from our “item_name”. “\t” creates a tab and “\n” moves to a new line. All of this text is concatenated into one string, which we add on to the end of the “my_html” string object.
my_html = my_html + "\t\t<h3>" + item_name + "</h3>\n"
Closing the HTML:
Now that we have created and populated <div>’s with each of Xurs items, we can add the code to close the HTML </body> and </html> tags.
my_html = my_html + "\t\t</div> <!-- row -->\n"
my_html = my_html + "\t</div> <!-- container -->\n"
my_html = my_html + "</div> <!-- inventory-container -->\n"
my_html = my_html + "</body>\n"
my_html = my_html + "</html>\n"
The “my_html” string will store all of the HTML code used in the body of the email we send.
Sending an email with Python:
Python comes installed with a number of really useful libraries, including the smtplib (Simple Mail Transfer Protocol library) and the MIMEMultipart and MIMEText (Multipurpose Internet Mail Extensions, allows text, images and other options) libraries.
For this section I referenced two tutorials, here Nael Shaib shows how to make a basic email program, and here Darren Massena shows how to create a HTML formatted email and attach external pictures.
Some important notes:
Google recently changed their security requirements, so to use this program, you will need to change your Google settings to allow less secure apps. I needed to do the following:
- Click here to allow less secure apps. Google will still reject access to your account, until you authorise it.
- Click here to authorise your app. This will authorise your app access to your Google account.
- Gmail and some other mail clients do not support CSS styling, so if you wanted to convert some existing CSS to inline HTML, you could use a tool like this. That being said, my iPad and Android phone both display mails with full CSS – so I’ve included some CSS styling in my code 🙂
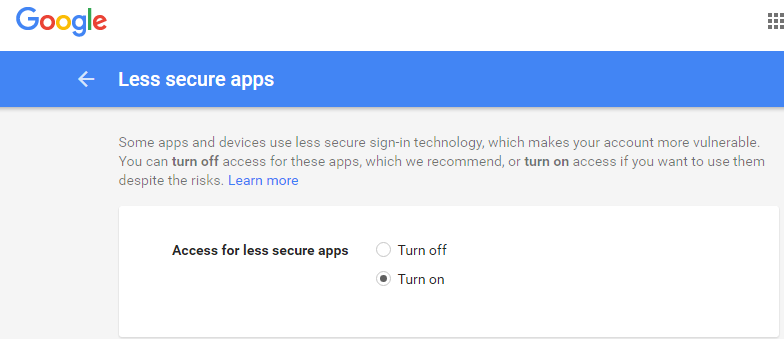
Enable access for less secure apps.
Alright, that’s enough talk – lets get to coding!
Importing the required libraries:
First lets import the required libraries:
import smtplib
from email.MIMEMultipart import MIMEMultipart
from email.MIMEText import MIMEText
Next we’ll set up our email address parameters, enter your details as follows.
# Mail parameters:
fromaddr = "TO_ADDRESS"
toaddr = "FROM_ADDRESS"
password = "GMAIL_PASSWORD"
Next, lets create the email header information:
# Compose mail:
msgRoot = MIMEMultipart()
msgRoot['From'] = fromaddr
msgRoot['To'] = toaddr
msgRoot['Subject'] = "Xurs Inventory."
msgRoot.preamble = "This is a multipart message in MIME format."
The line:
msgRoot = MIMEMultipart()
creates an email MIMEMultipart object, we then set the [‘To’], [‘From’] and [‘Subject’] parameters of the email on the following 3 lines.
Creating the email body:
We’ve already populated the HTML into a string object called “my_html”.
The “my_html” string object is added to the body of the email with the following commands, the 2nd parameter passed to the MIMEText object sets the email type as HTML:
msgText = MIMEText(my_html, 'html')
msgAlternative.attach(msgText)
The following commands create an SMTP mail object, connect to the Gmail SMTP server on port 587.
server = smtplib.SMTP('smtp.gmail.com', 587)
server.ehlo()
server.starttls()
The next line actually logs into our Gmail account, we pass our Gmail address and password as parameters to this.
server.login(fromaddr, password)
The next 2 lines actually send the email,
server.sendmail(fromaddr, toaddr, msgRoot.as_string())
server.quit()
Running the code:
Here is the full set of Python code, this can be copied into a file called “Get_Xur_inventory_email.py” and executed from the command prompt like so:
> python Get_Xur_inventory_email.py
The code can also be found on my GitHub page here: https://github.com/AllynH/Destiny_Get_Xur_inventory_email
As always, I’ll try to keep the GitHub repo up to date with any changes I make.